Civil War Uniform Sources
A Union Soldier's Uniform, around 1865 - interactive
Union Soldier's Clothing - interactive
Confederate Soldier's Clothing - interactive
Generalizations of the Union Army Uniform packet found below.
A Union Soldier's Uniform, around 1865 packet found below.
Union Soldier's Clothing - interactive
Confederate Soldier's Clothing - interactive
Generalizations of the Union Army Uniform packet found below.
A Union Soldier's Uniform, around 1865 packet found below.
| generalizations_union_army.docx |
| union_soldier_uniform_interactive.docx |
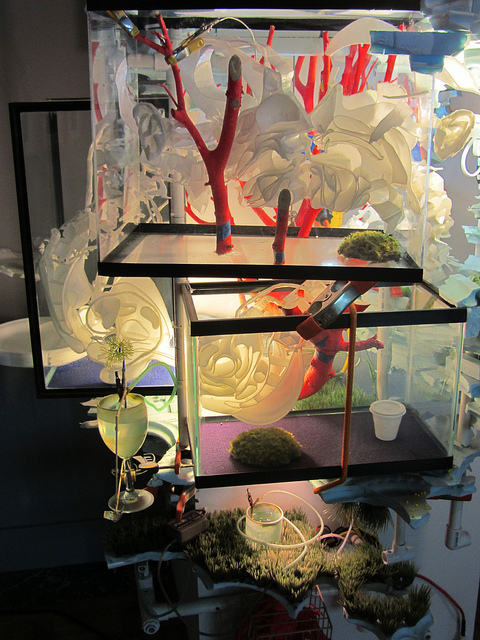
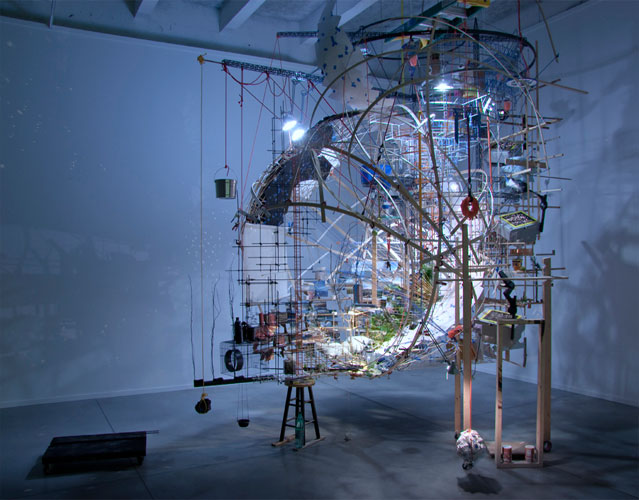
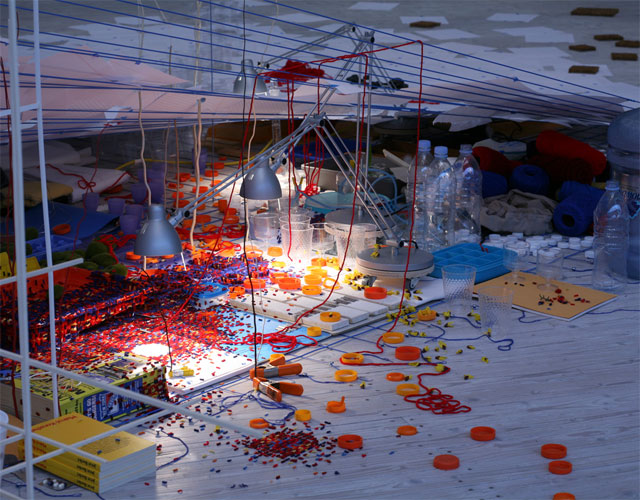
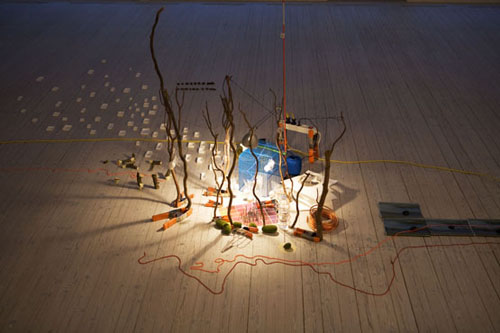
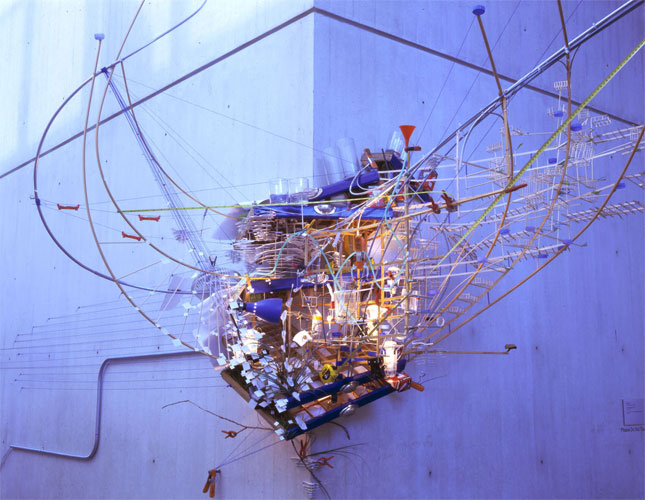
Sculpture of Balance - Sarah Sze Inspiration
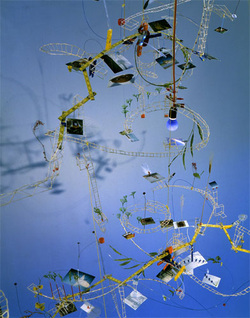
Here is the video about Sarah Sze from Art 21 that we watched in class.
Here is an interview with Sarah Sze that explains a bit about her motivation.
Please answer these four questions based on what you know from the video, as well as this article.
1) What is Sarah Sze's motivation with her work?
2) How does she decide what to use?
3) How fragile is her work?
4) How can you use her ideas from her work in a piece of your own?
This is due by the end of class on Thursday, 3/28!
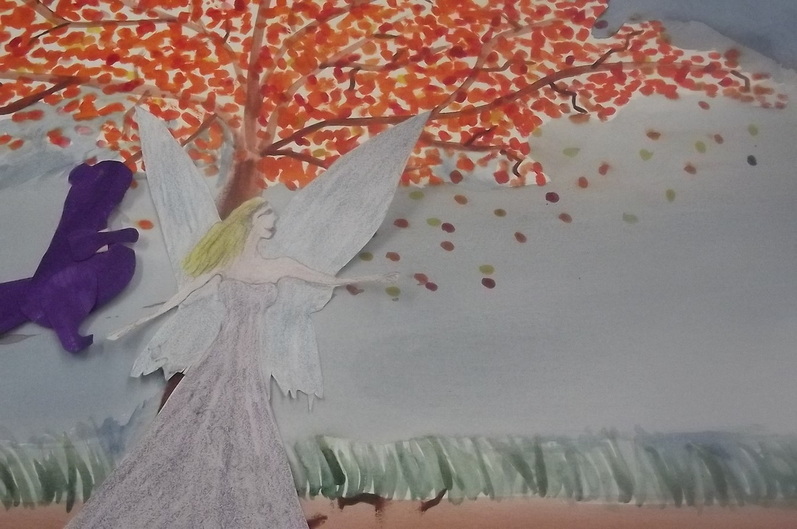
Final handmade paper animation
Art History Movie Sheets and Links
Here are the links for the Art 21 Art History sheets.
John Baldassari
Jenny Holzner
Elizabeth Murray
Raymond Pettibon
John Baldassari
Jenny Holzner
Elizabeth Murray
Raymond Pettibon
| art_history_movie_murray_and_pettibon.docx |
| art_history_movie_baldassari_and_holzner.docx |
Art History Article questions
| art_history_article_questions_picasso_wright_cezanne.docx |
| art_history_article_questions_monet_rivera_okeeffe.docx |
| art_history_article_questions__warhol_kahlo_pollock.docx |
Instructions for using Windows Movie Maker
Follow EVERY instruction carefully!
Open Windows Movie Maker (Start > All Programs > Windows Movie Maker)
When Windows Movie Maker opens, on the left side of the screen there is a section called Movie Tasks. Under 1. Capture Video, Click Import Pictures.
Your files are located under the local disk on the computer. You can find them by going to My computer – Local Disk C – the folder with your name on it
Control + A will select all – Click Import
All of your images should be in the collections section. Press Control + A one more time and it will select all of the pictures again. Drag the images down to the storyboard at the bottom to begin making the movie. (This will take time to load.)
Now you should see a line of all of your images of your animation. If you click Tools on the top menu bar, you can find a list. First, click Options. Under the Advanced section, you can choose your time durations for your animation. Make them as low as possible.
Next, under Tools, click Video Effects. Towards the bottom of the group, there is an effect called Speed Up, Double. You must add this effect to ALL of your pictures six times. To do this, right click the image in the storyboard and click Video Effects. Click on Speed Up, Double, then click Add >> to put it in the next list six times. This will speed up your animation to the proper speed.
There is not a faster way to do this step. You must place that on all images.
Next, if you would like to have a title for your animation, it is under Tools, Titles. Give your animation a title and intro!
End of shooting for paper animation
Paper animation shooting will end at the end of class on Wednesday.
Each student should have 450 pictures, if they have used their time wisely. There will be no more in class time to shoot after this.
Beginning steps with Windows Movie Maker starts on Thursday, 1/24.
Each student should have 450 pictures, if they have used their time wisely. There will be no more in class time to shoot after this.
Beginning steps with Windows Movie Maker starts on Thursday, 1/24.
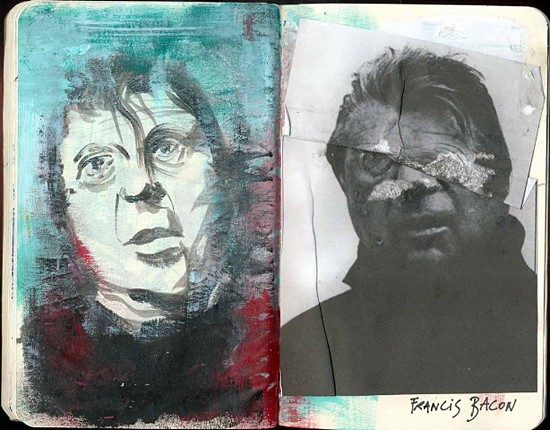
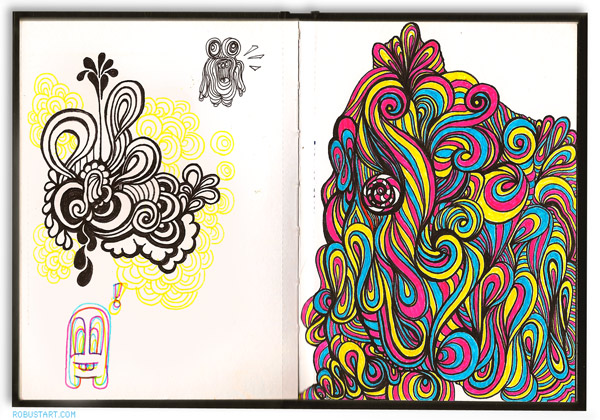
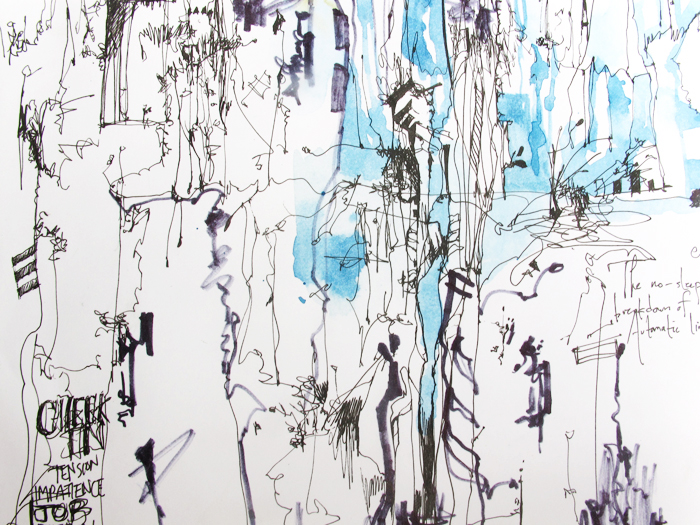
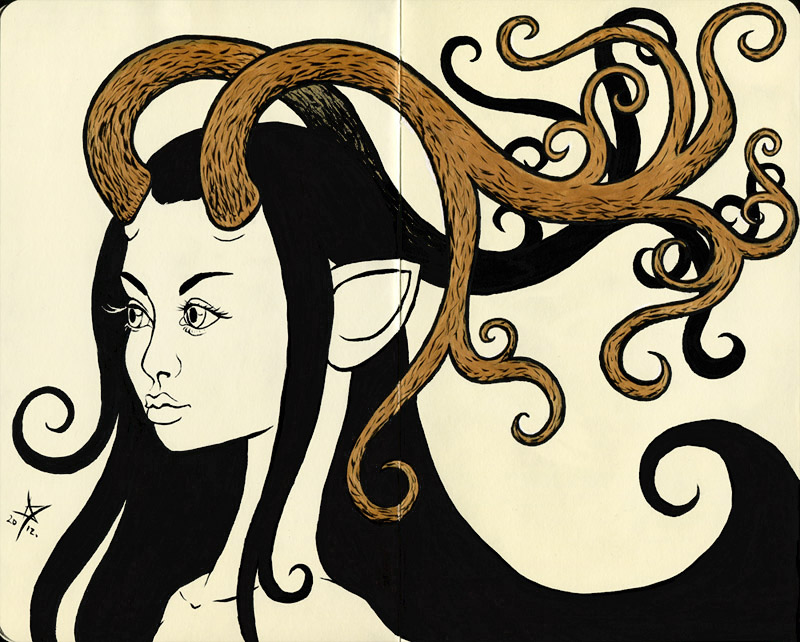
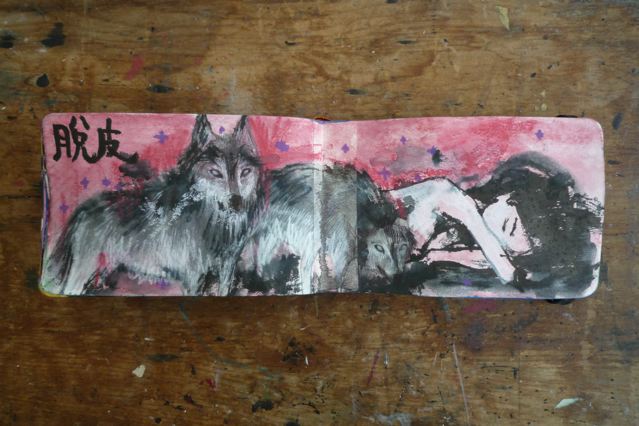
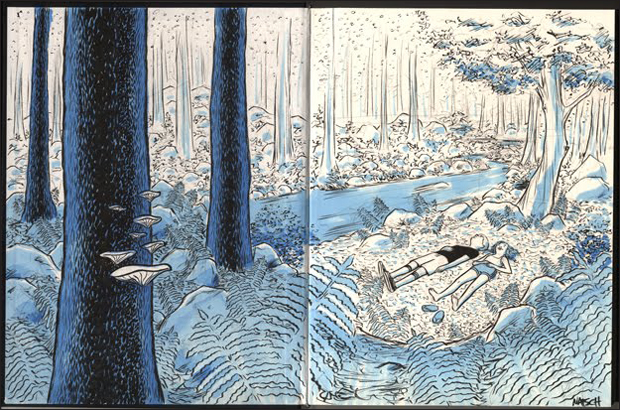
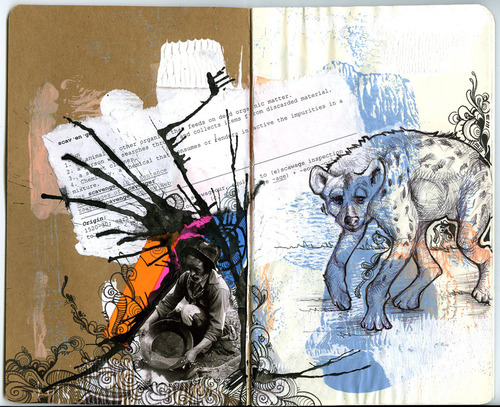
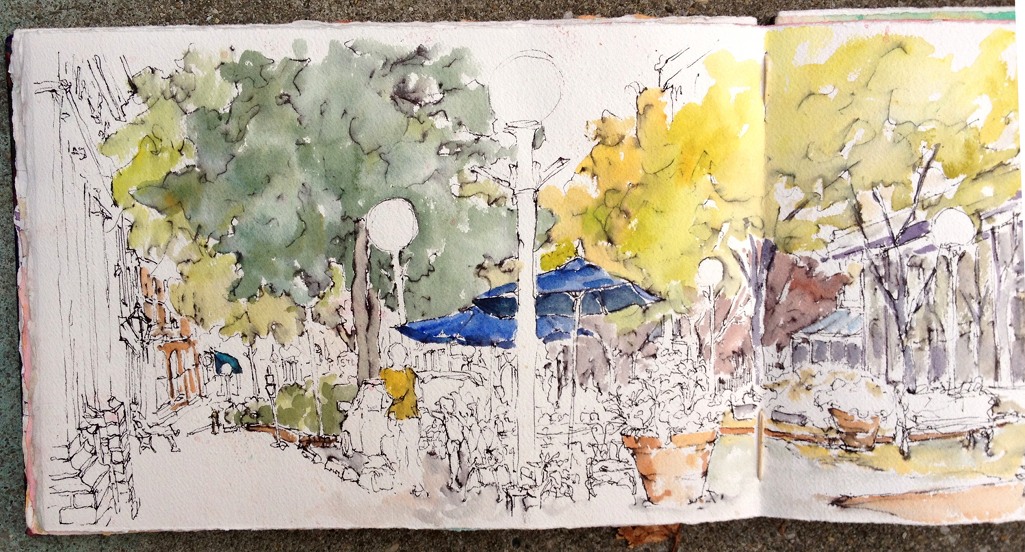
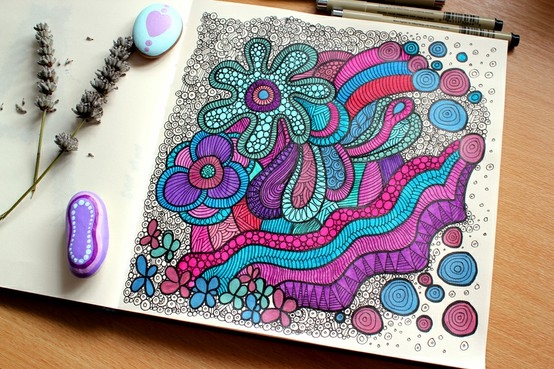
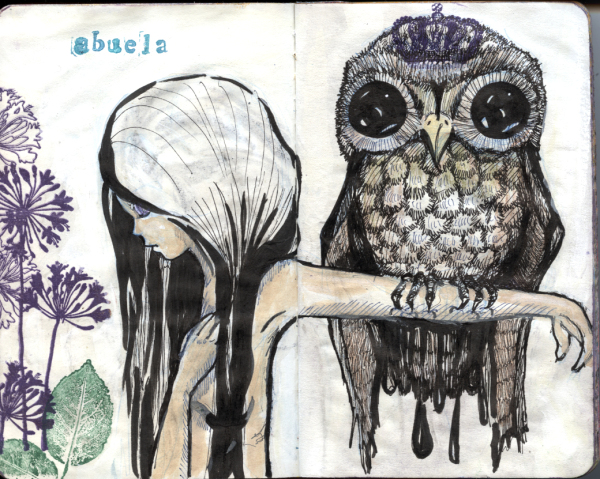
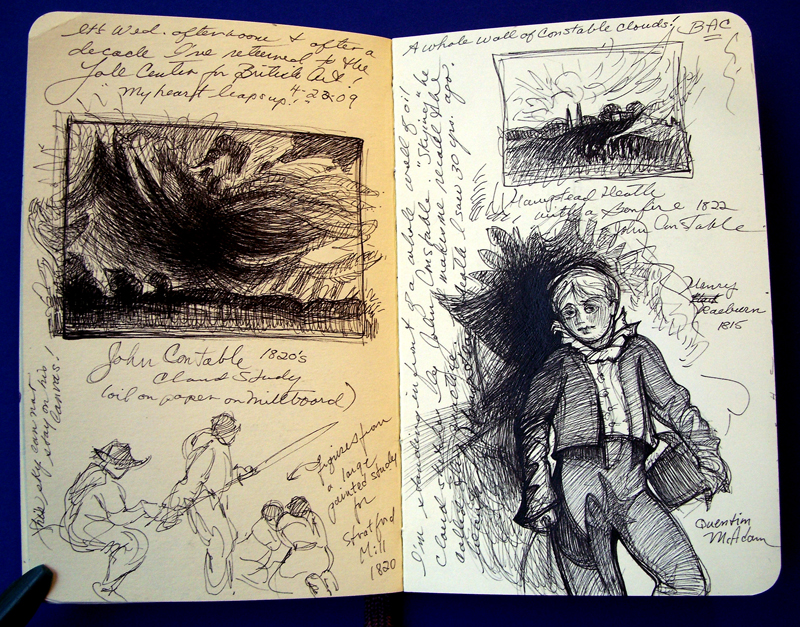
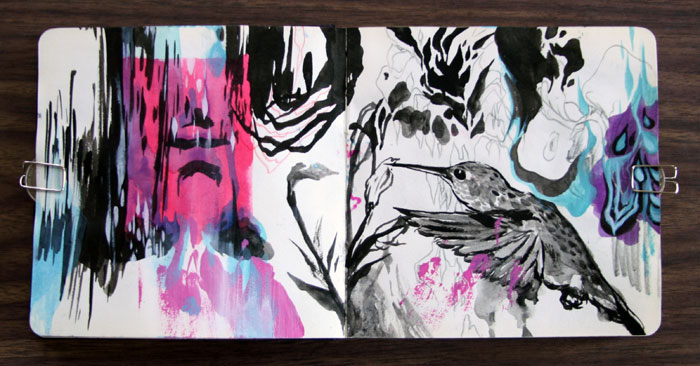
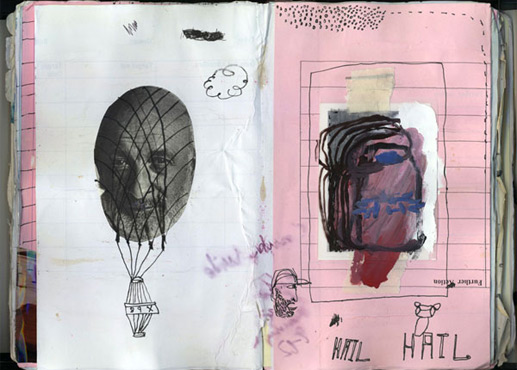
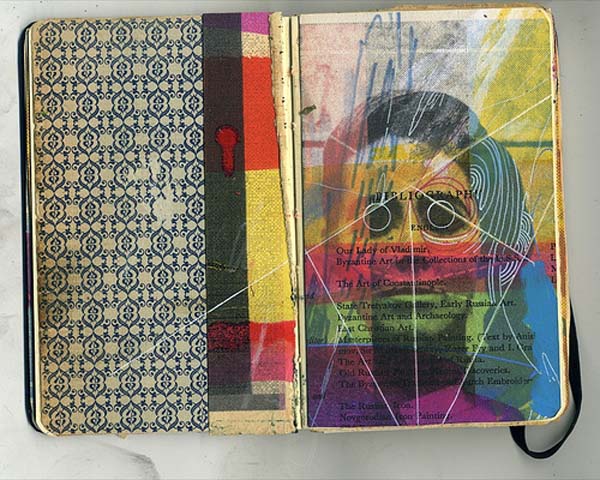
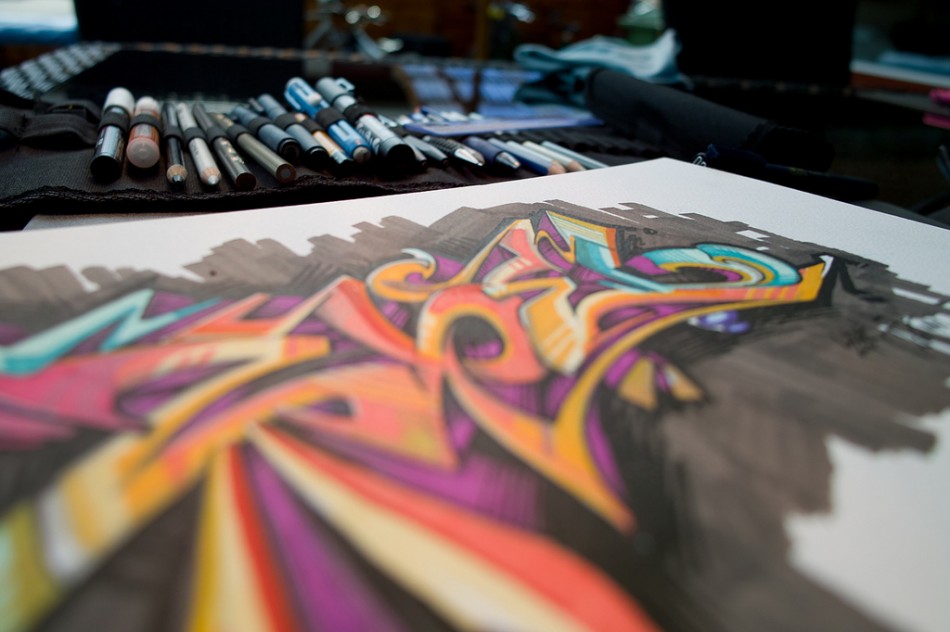
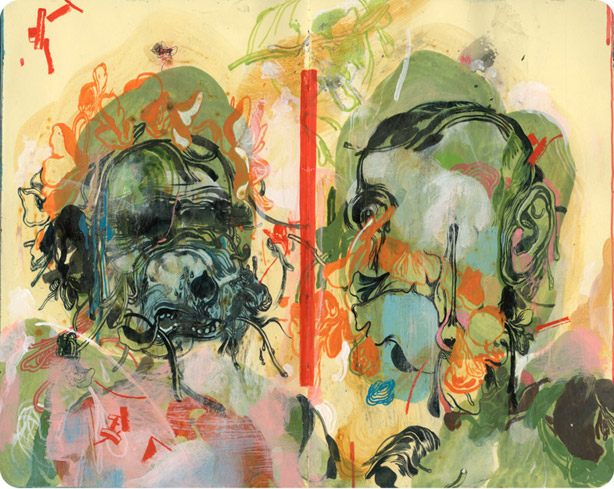
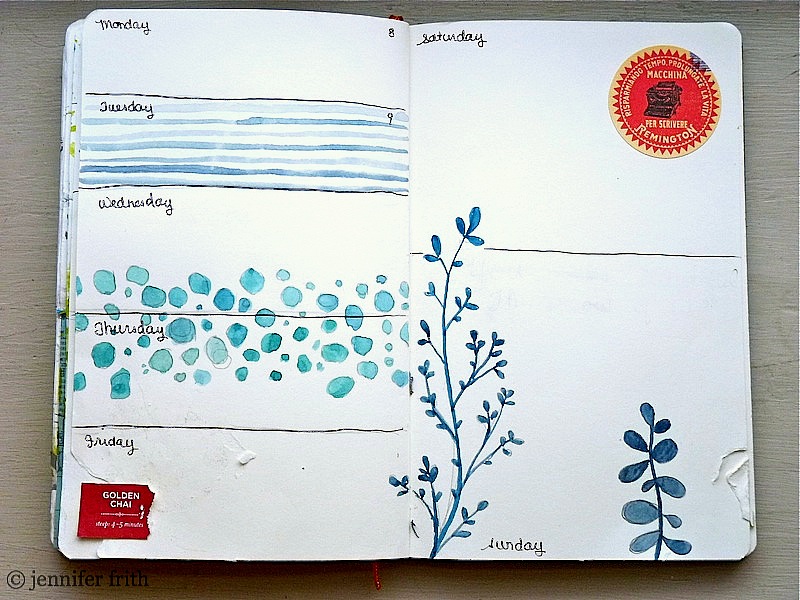
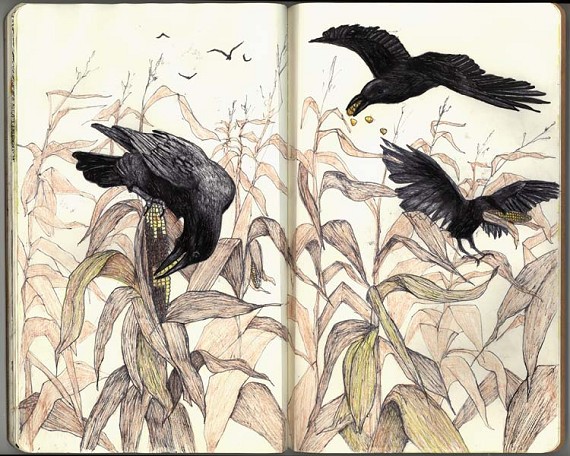
Reminder about Sketchbooks w/Examples
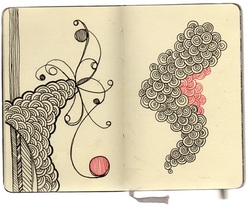
Sketchbooks are a major part of the art class. This marking period, the goal is to have one theme for all of your sketchbook entries.
Please remember that you need to have at least two done per week. The work must be ORIGINAL work - you may use other images for reference, however you need to change the image considerably to make it your own.
Ten sketchbook pages are due on Friday, Feb 8th.
Examples below.
Please remember that you need to have at least two done per week. The work must be ORIGINAL work - you may use other images for reference, however you need to change the image considerably to make it your own.
Ten sketchbook pages are due on Friday, Feb 8th.
Examples below.
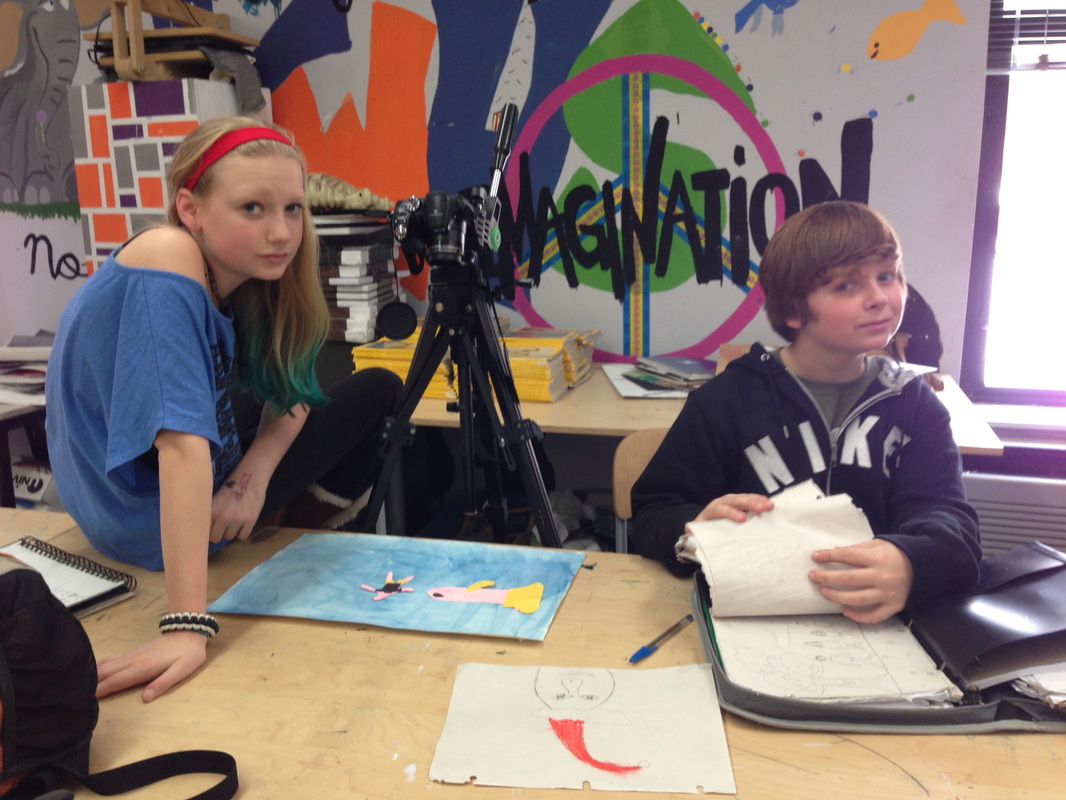
Paper Animation Shooting!

Today started the shooting for the handmade paper animation. All images have been loaded onto the computers, however please refer to this list to remember which camera your group has!
We will continue tomorrow having the same student shoot until they are complete with their animation.
Please remember that we are aiming for 30 seconds of video, so that means that we need 450 pictures per person!
We will continue tomorrow having the same student shoot until they are complete with their animation.
Please remember that we are aiming for 30 seconds of video, so that means that we need 450 pictures per person!
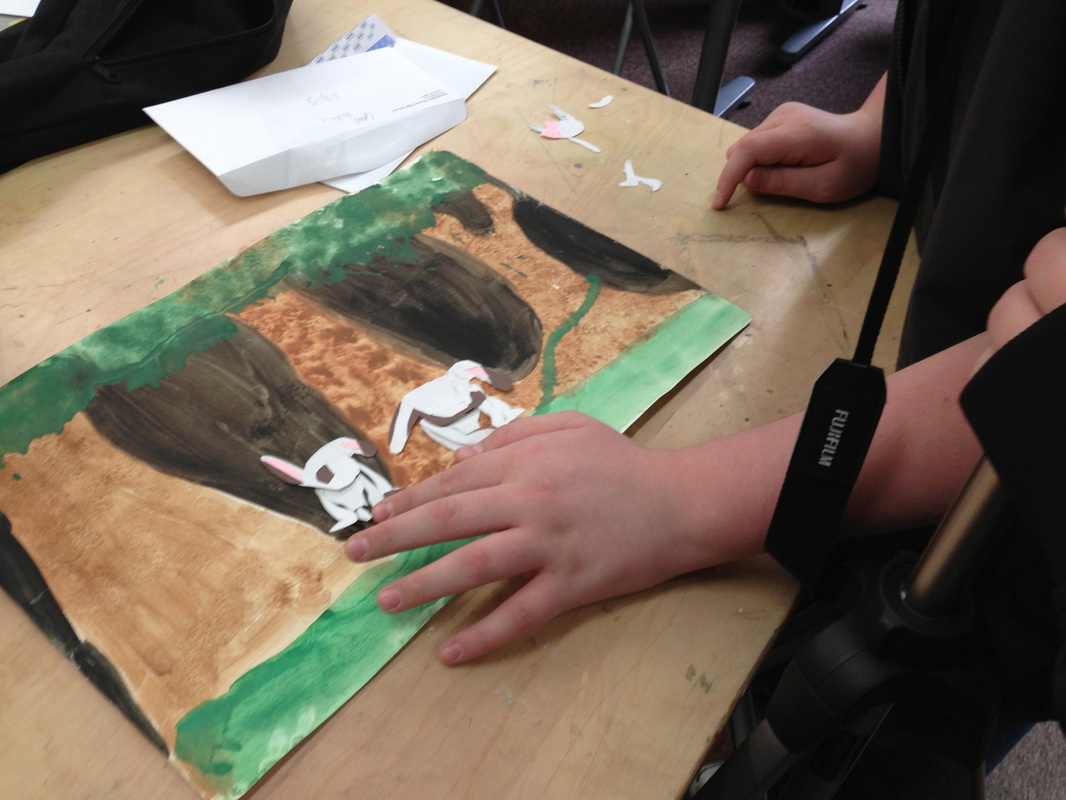
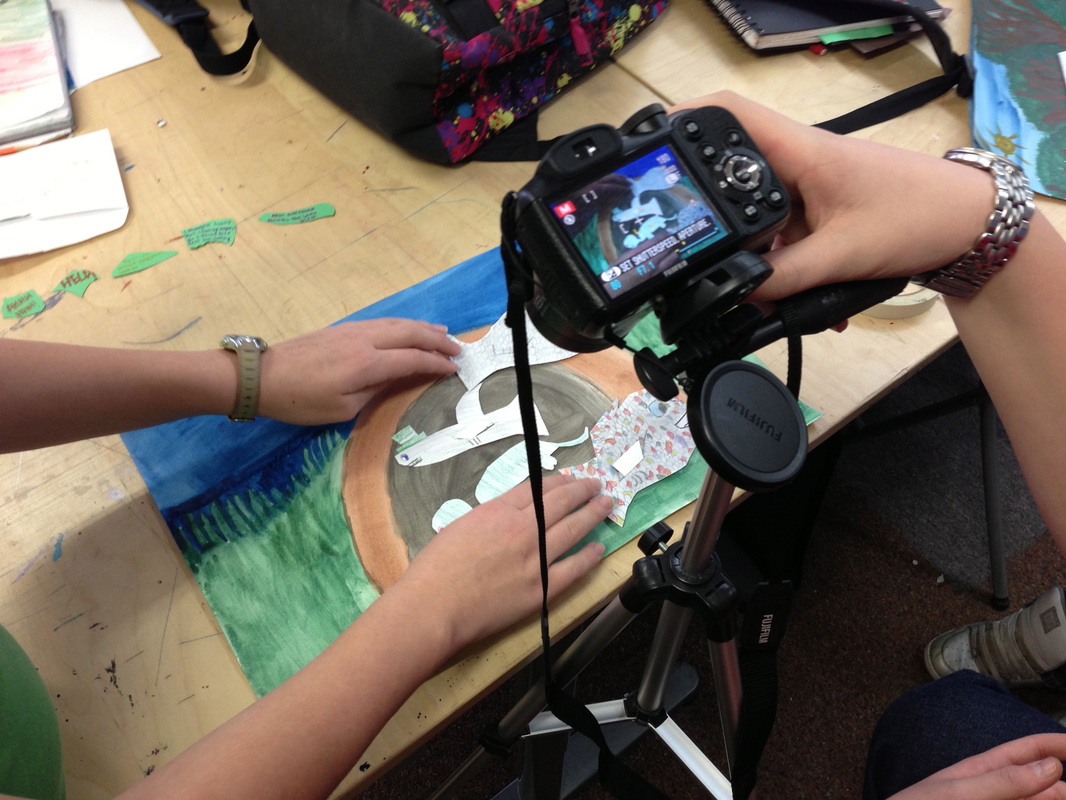
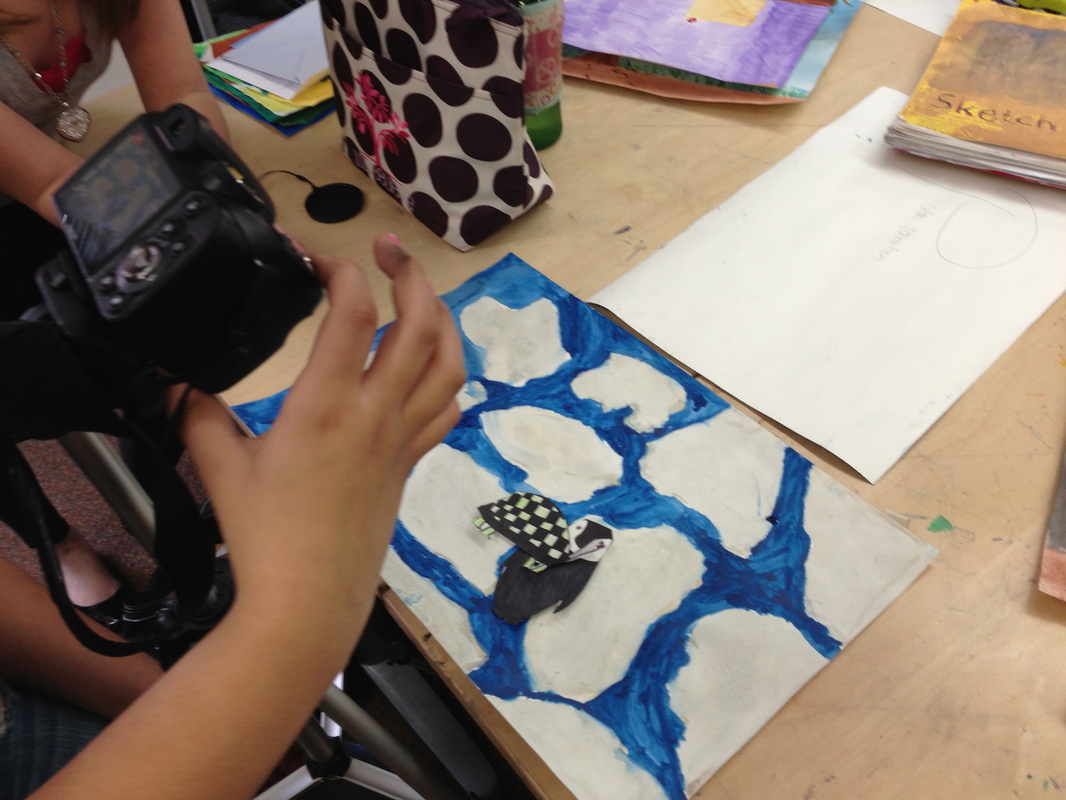
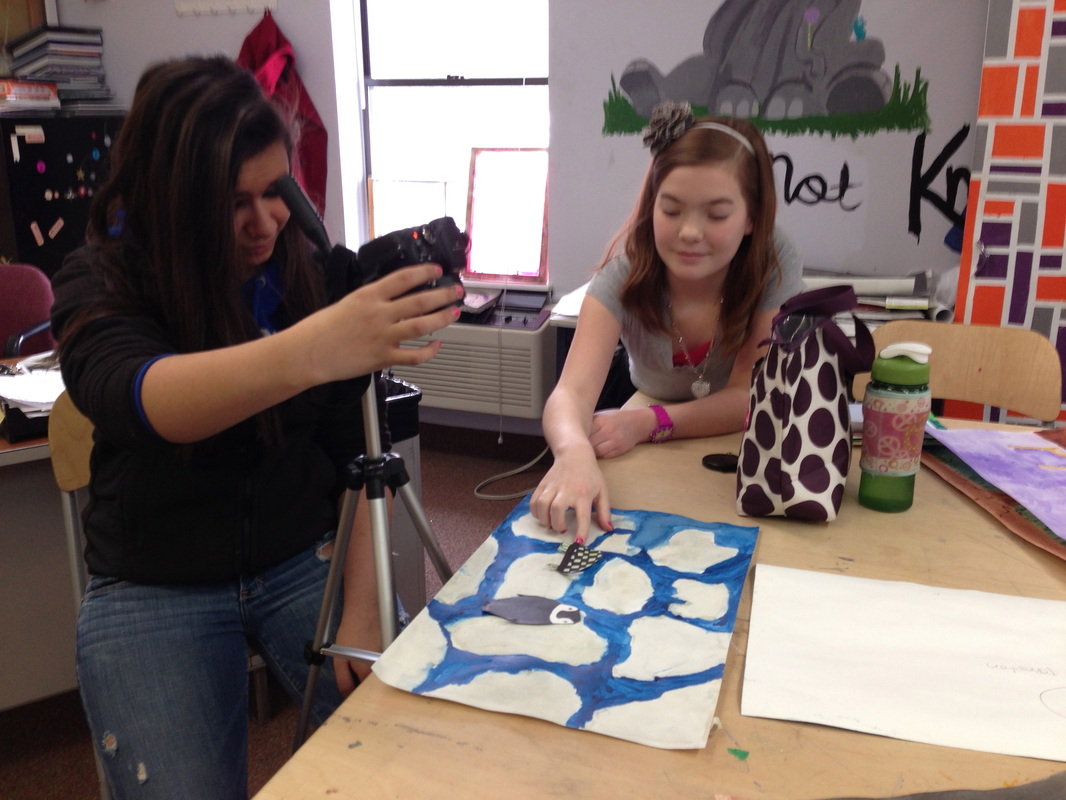
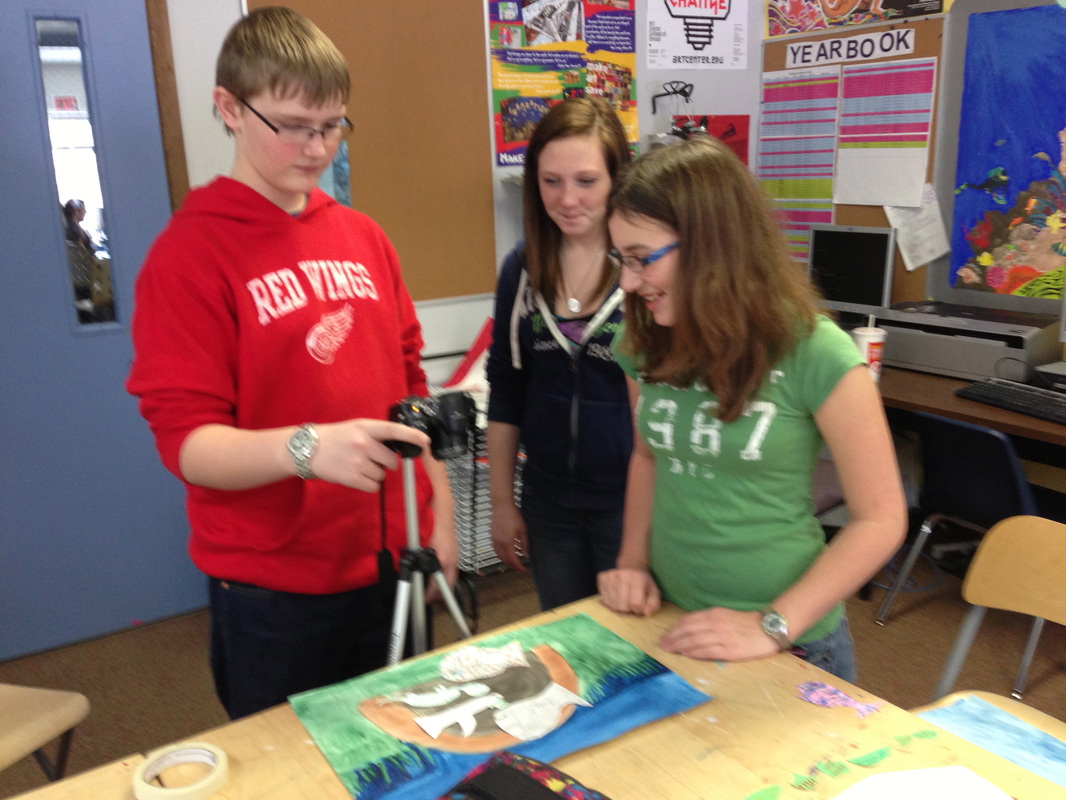
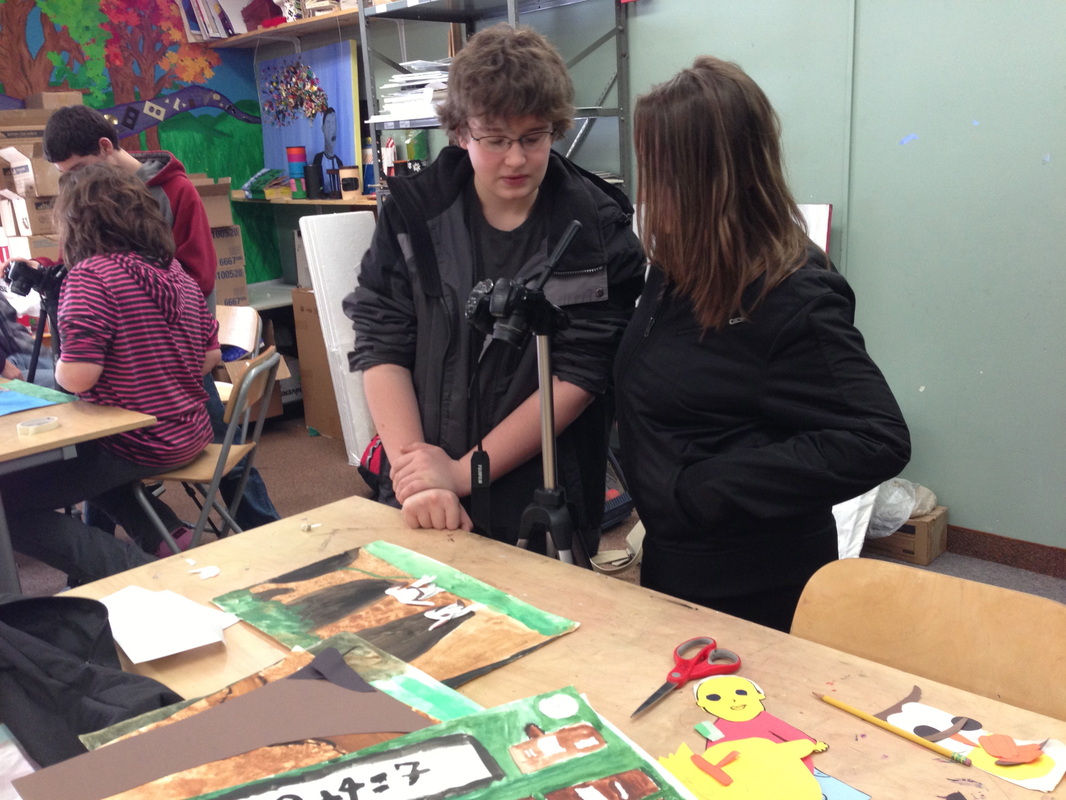
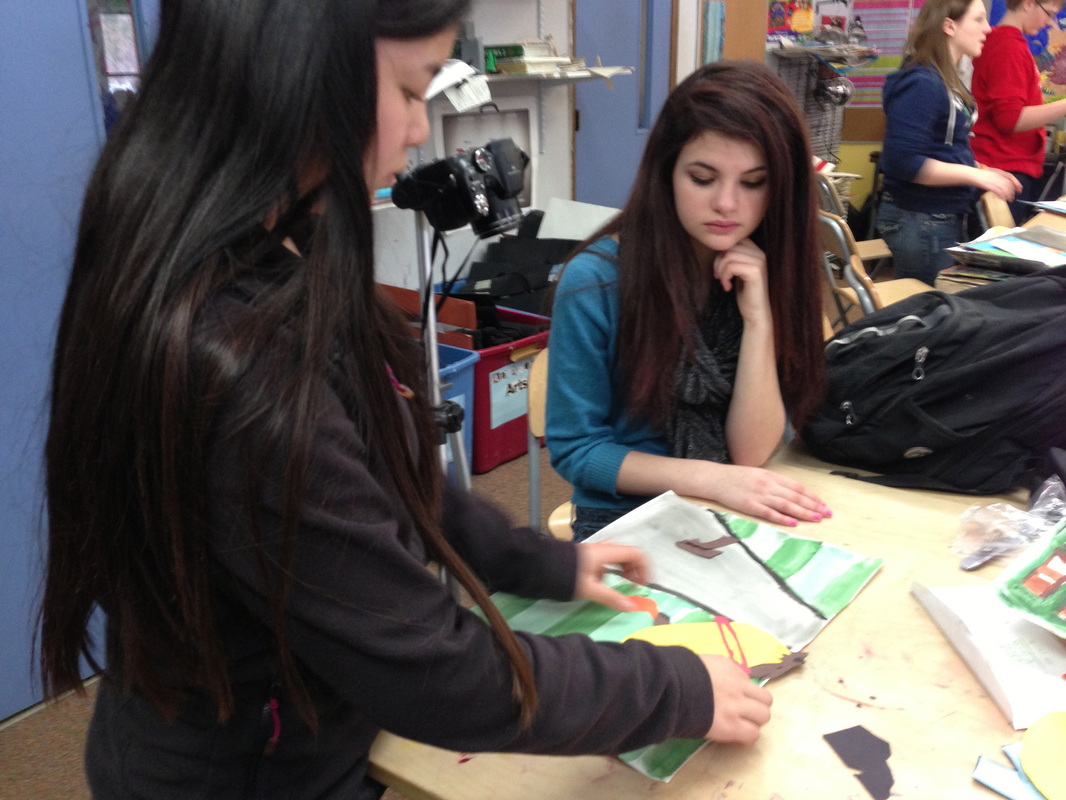
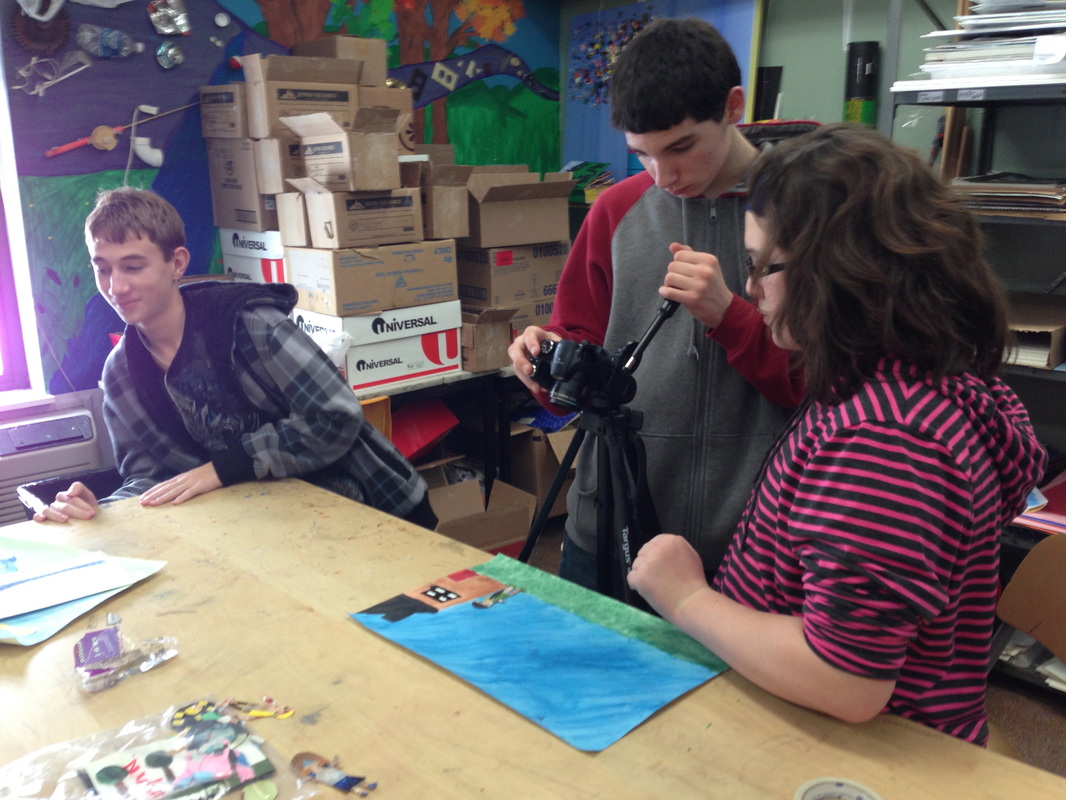
Handmade Paper Animation
The 7/8 Art final last semester was the completion of their components for their paper animation. The animation is based off of the allegory that they had written during Mr. Ferguson's class, personifying different aspects of their personality.
These components are:
3 12x18 Watercolor Backgrounds (paper was provided in class)
5 Characters from their allegory with moving parts
In the case of not having five characters in their allegory, the students were require to make other objects in their story move, up to five.
This week we are shooting the animations. Important things to keep in mind from the presentation today.
1) Always use a tripod for shooting animation.
2) Keep your camera set on Manual. 1/80 Speed, ISO 800, f3.6. This is to assure that each image taken is exactly the same.
3) Make sure to zoom in enough that the rest of the table is not included in the images.
4) Tape your background down in one spot.
5) Make sure to "finish your sentence" before the end of class, aka, complete your thought. It will be very difficult to come back the next day and have to figure out EXACTLY where your characters were the day before.
6) You are working in groups for a reason. The artist is in charge of moving the characters. The assistants are in charge of helping organize the next move and shooting the camera when the artist tells them to.
The students need to make sure to grab the same camera.
We will be loading the images onto the computers into the 7/8 Art class folder under their own name.
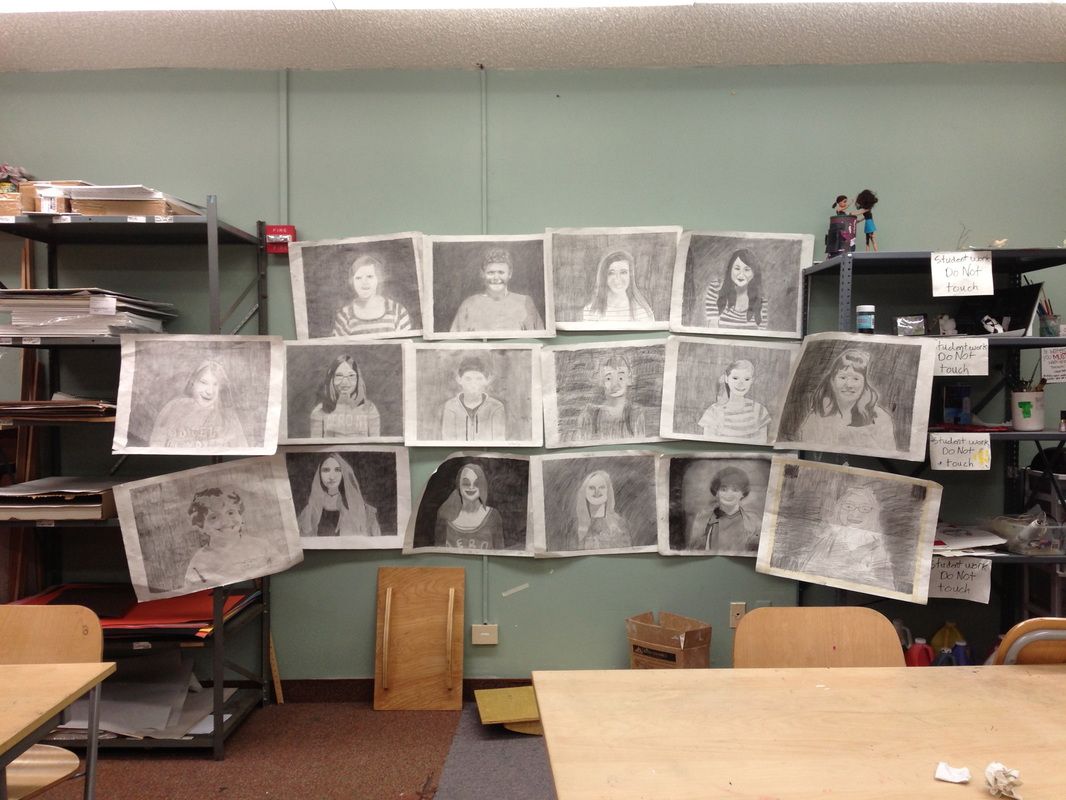
FInal Group of Grid Portraits
The 7/8 Art class drew each other for their first portrait assignment. I think they turned out wonderfully!